

READsquared is an online platform for reading programs. JHLS will use this platform for the annual Summer Reading Program and 1000 Books Before Kindergarten.


Need help learning how to use READsquared? Select an option below for tips.
To enlarge a screenshot, click on the image.
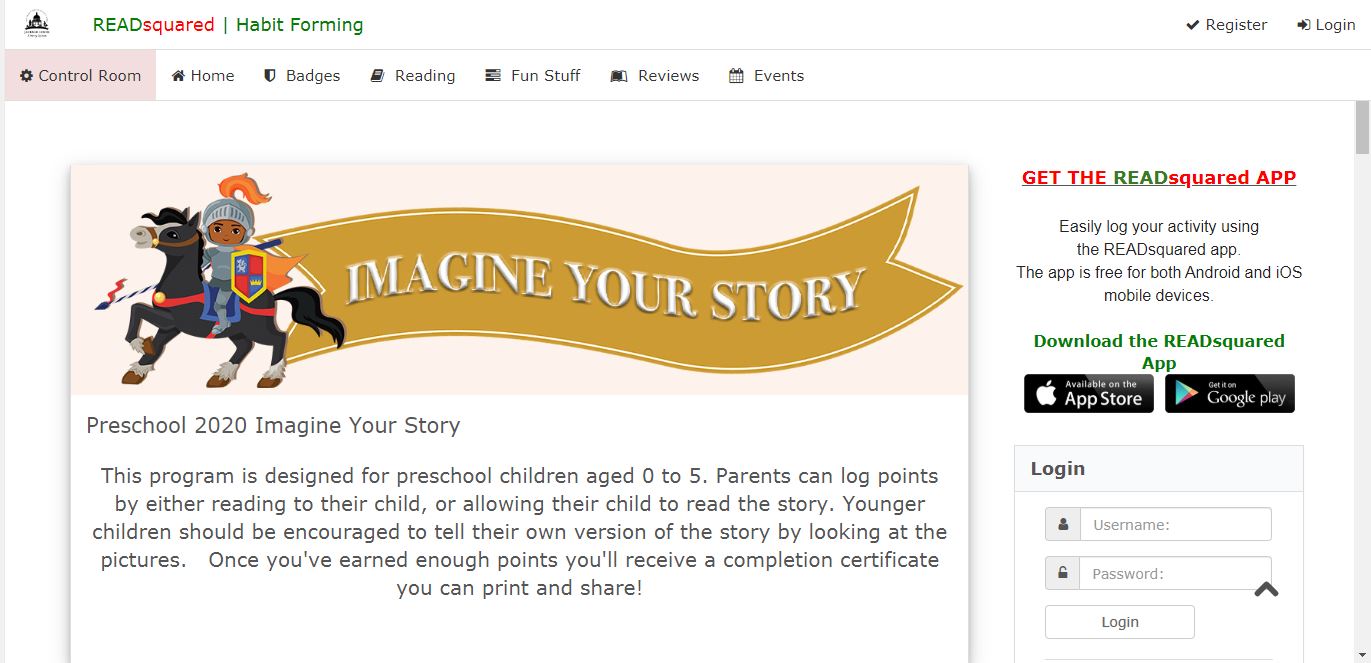
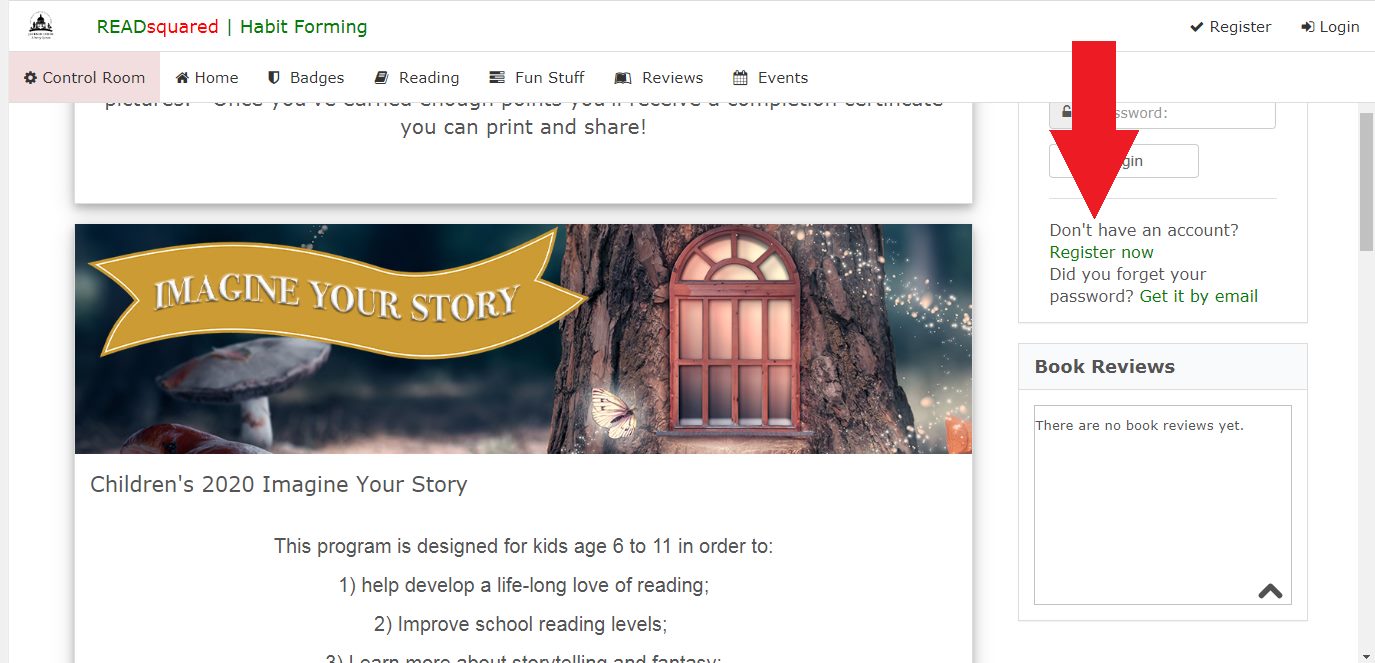
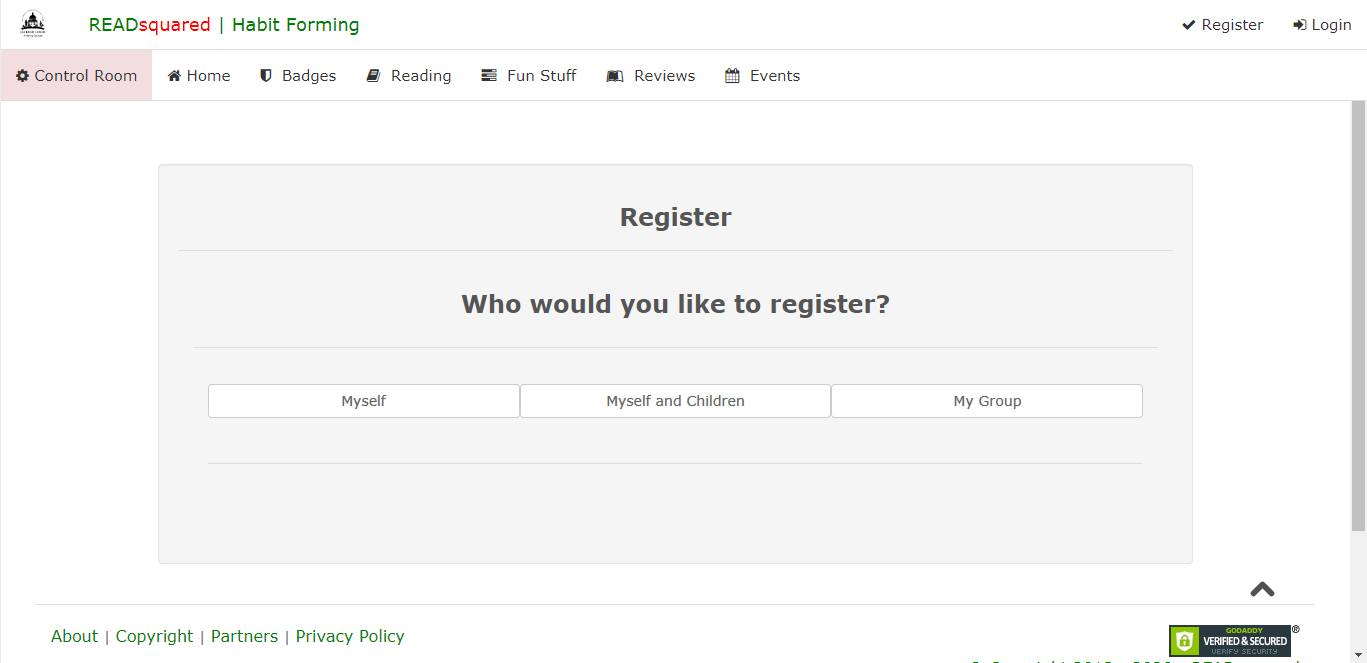
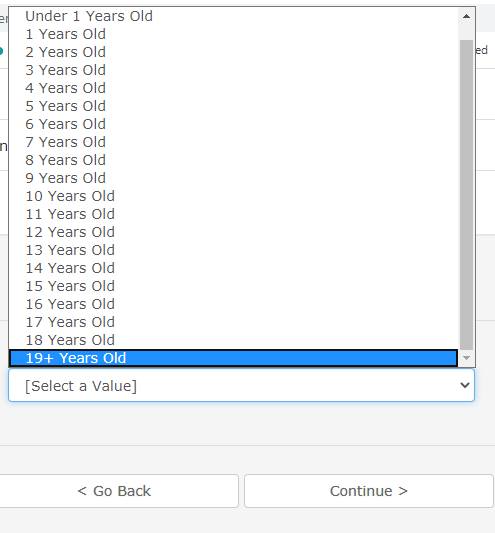
Website Registration

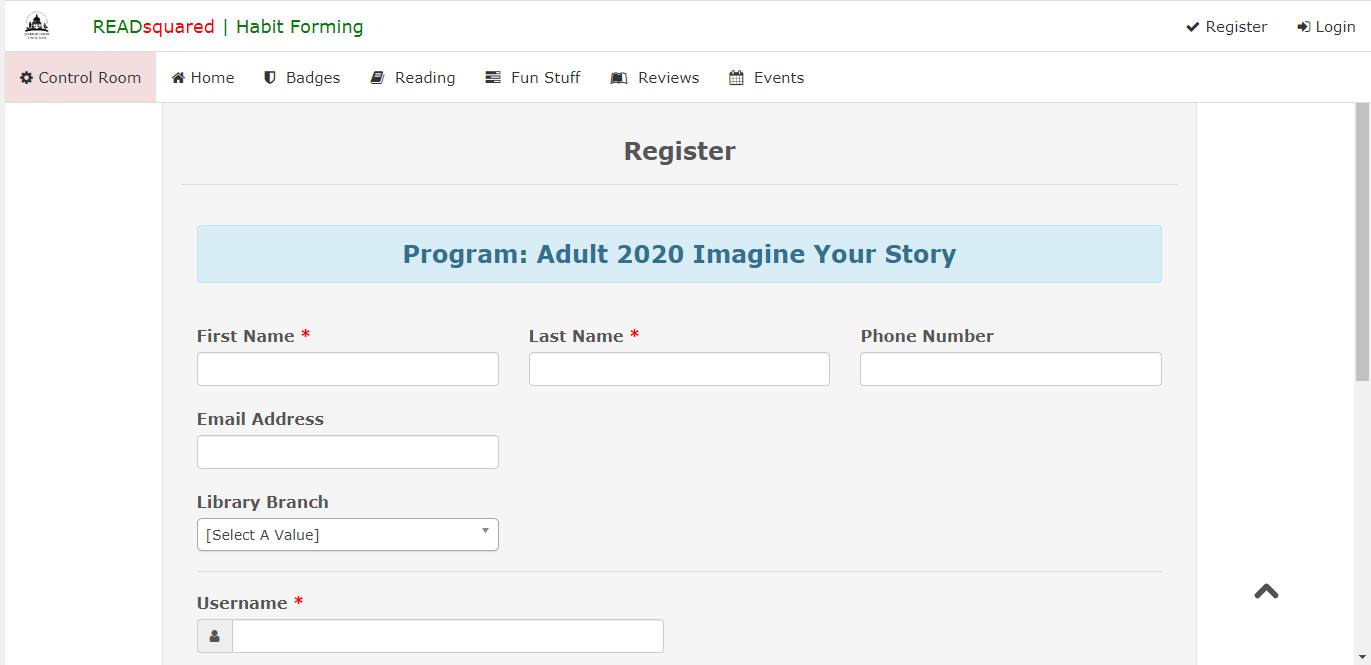
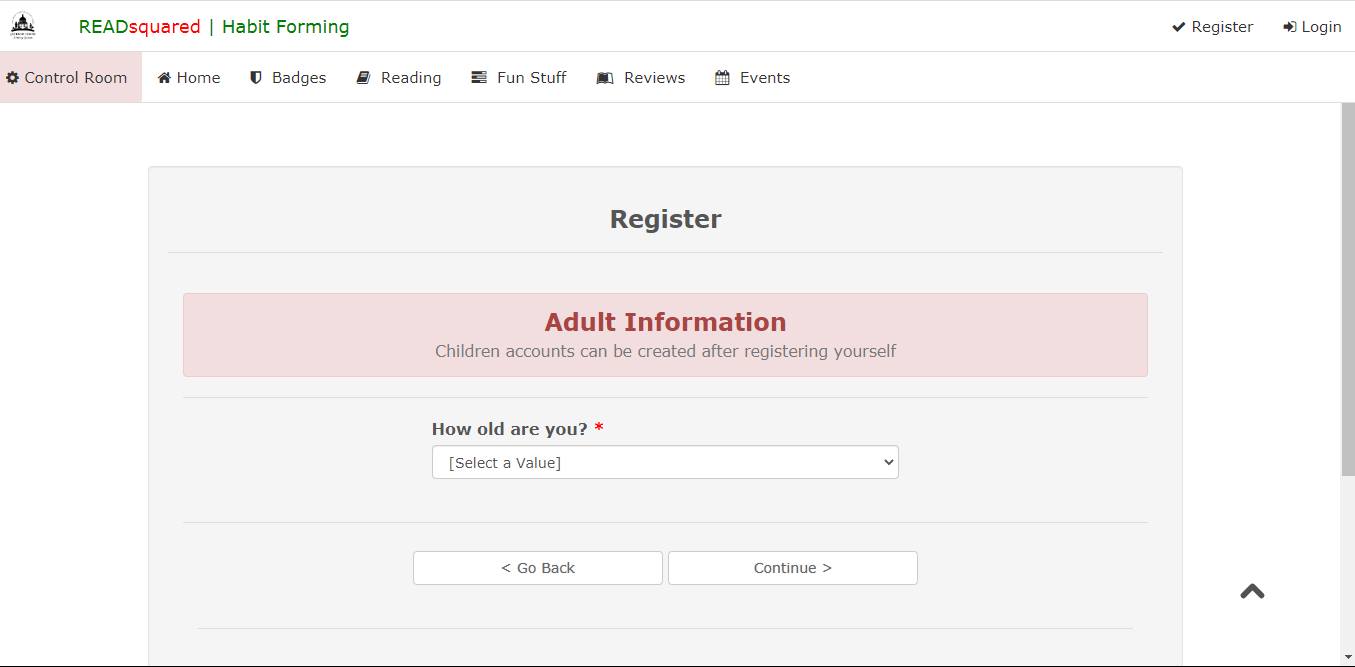
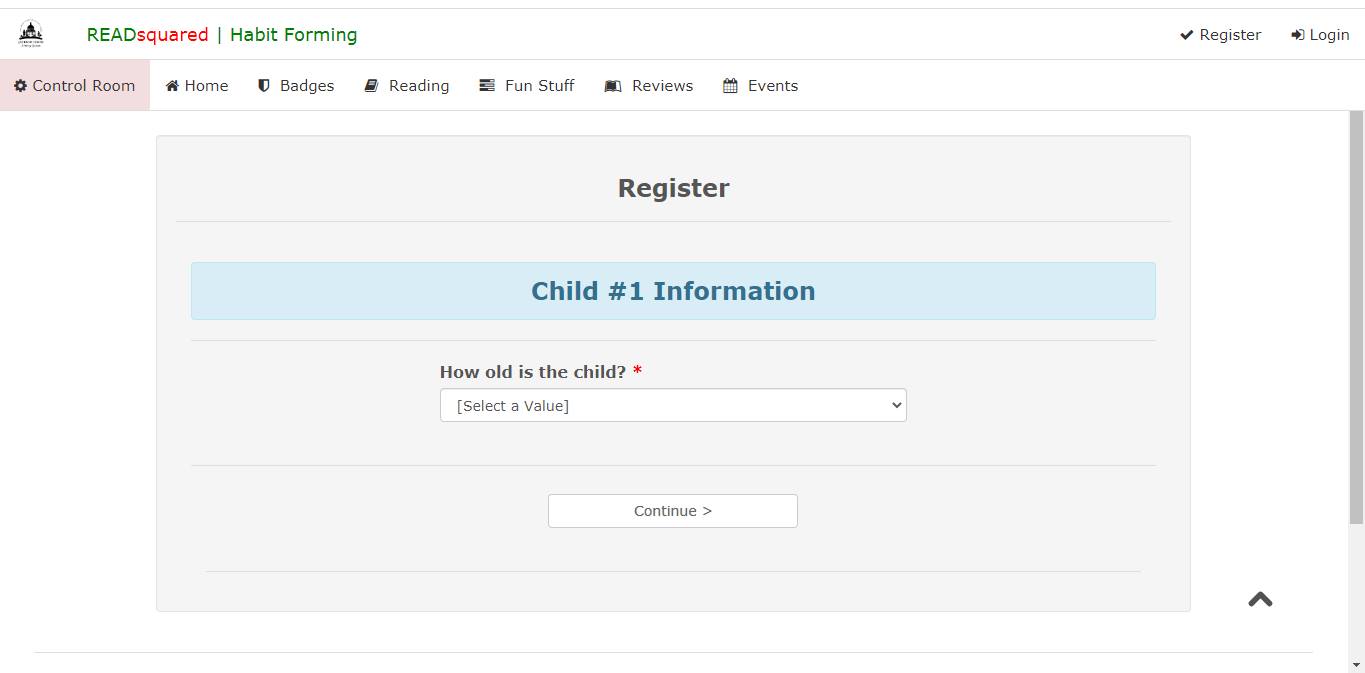
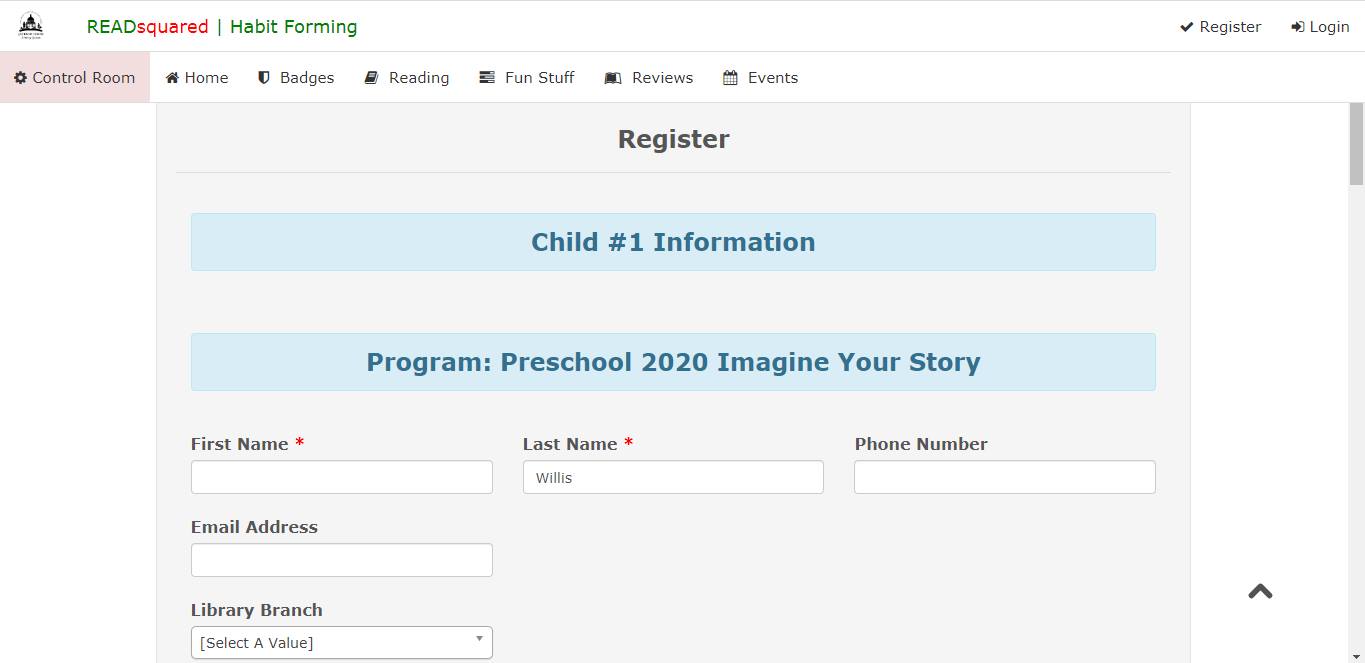

App Registration
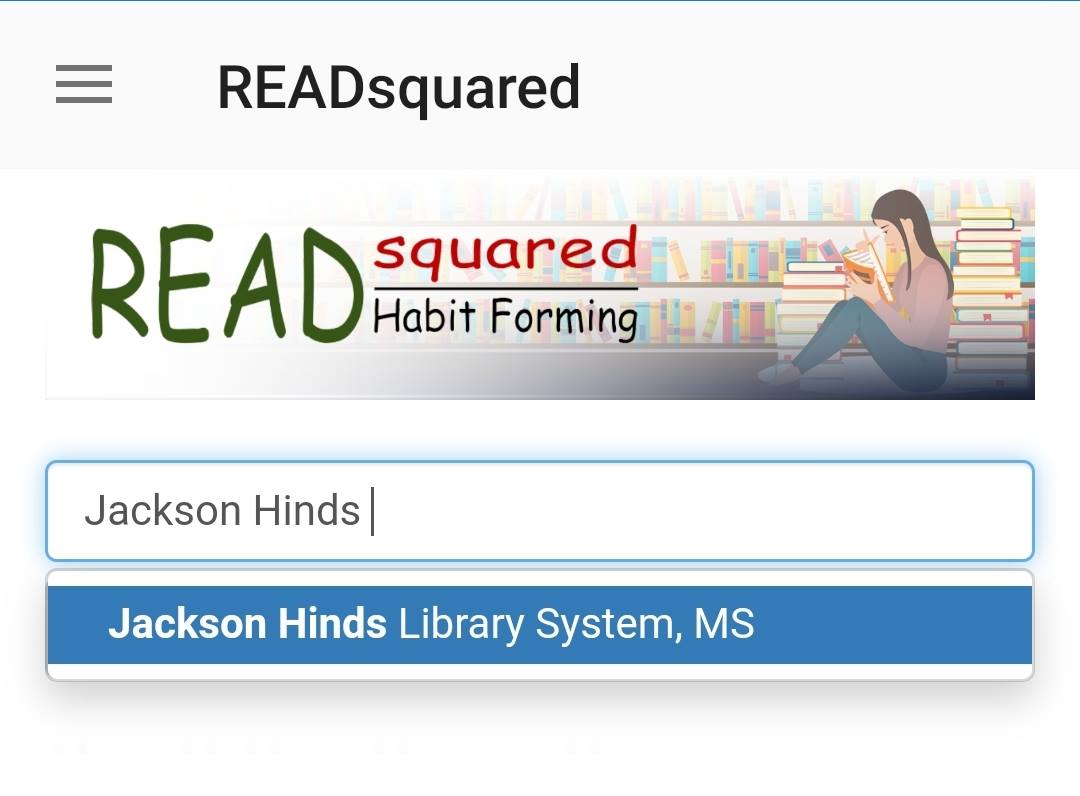
The READsquared app is available on the App Store and Google Play.
If a patron registers using the READsquared app, they must enter Jackson Hinds Library System, MS in the library field. Attempting to enter a specific library will give them an error message. They will have the option to choose a library in the registration form.
READsquared Interface
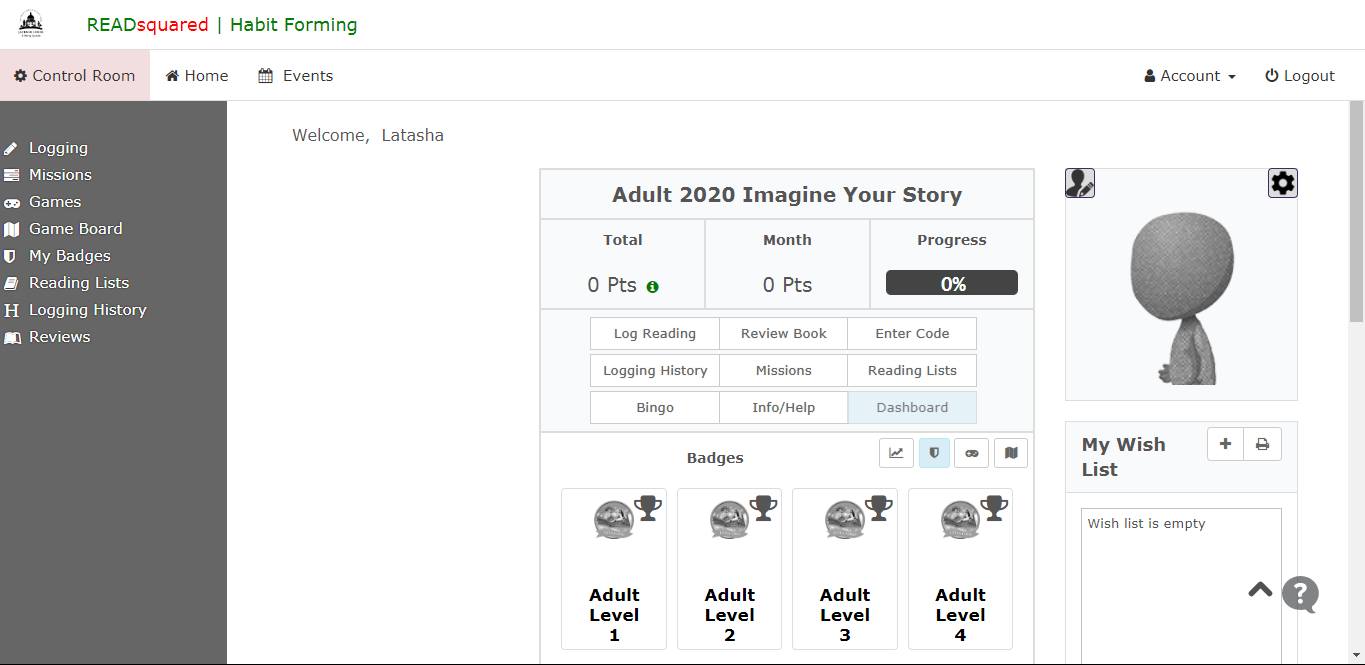


Logging Books and Reviews
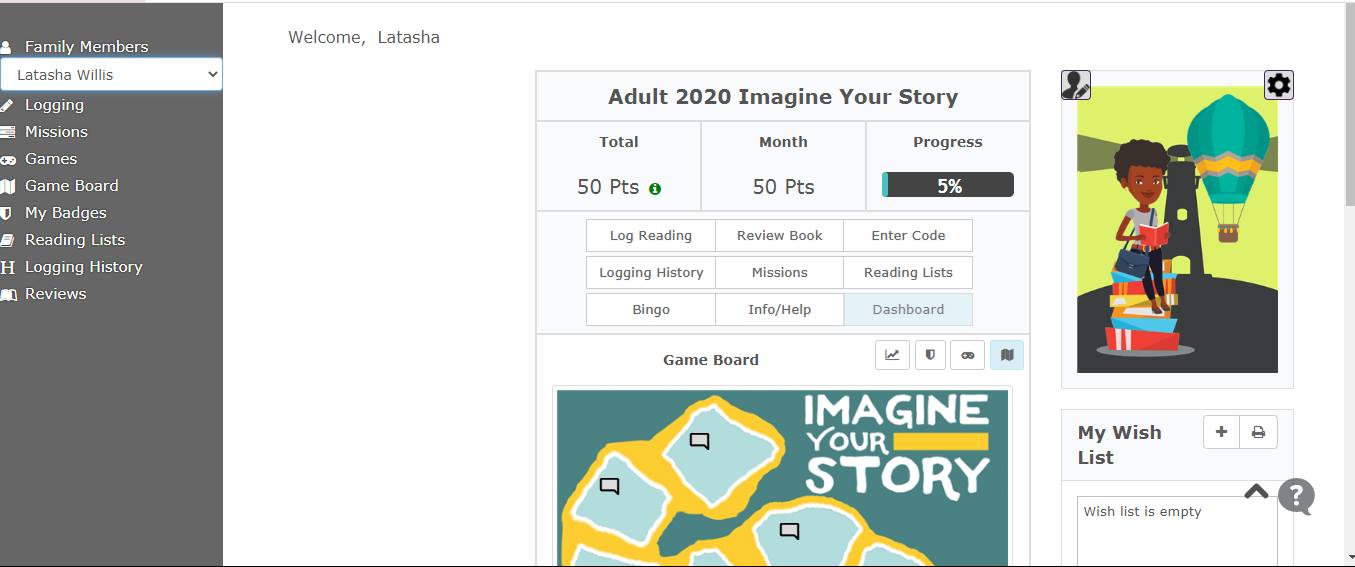
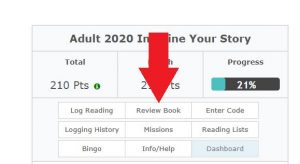
Logging books can be done at the center of the home page by clicking on Log Reading or the navigation bar by clicking on Logging.
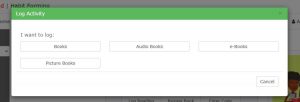
You will be prompted on the type of book you wish to log. Click on the appropriate option. (Options will vary by age group.)
Next, enter the book name and author, You will also be given the option to add a book review. Book reviews are moderated and published after approval.

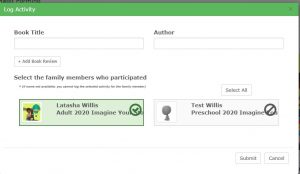
Click Submit to save your information. The number of points earned will appear.
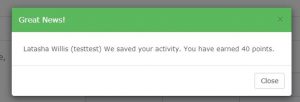
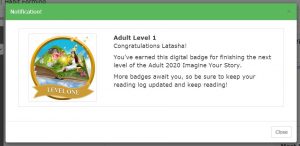
If the earned points result in earning a badge or certificate, the participant will be notified as well.
You have the option on entering book reviews separately if you wish. Points are not earned for entering reviews.
Earning Points and Awards
Points by age group are as follows for logging books read:
Preschool:
50 points per picture book
Children:
- 20 points per picture book
- 40 points per book with words
- 40 points per audiobook
- 40 points per e-book
Teen:
- 10 points per picture book
- 40 points per book with words
- 40 points per audiobook
- 40 points per e-book
Adult:
- 10 points per picture book
- 40 points per book with words
- 40 points per audiobook
- 40 points per e-book
The maximum points that can be logged per day is 1,000 points. When the maximum is reached for the day, the participant must wait until the next day to log books again.
Missions: Most missions are 10 points each and go toward the total points earned.
- For the JHLS virtual story times in the children’s category, they are two points each.
- Missions may be giving the correct answer to a question, fill in the blank, checking a box or typing a summary in a text field to complete the activity.
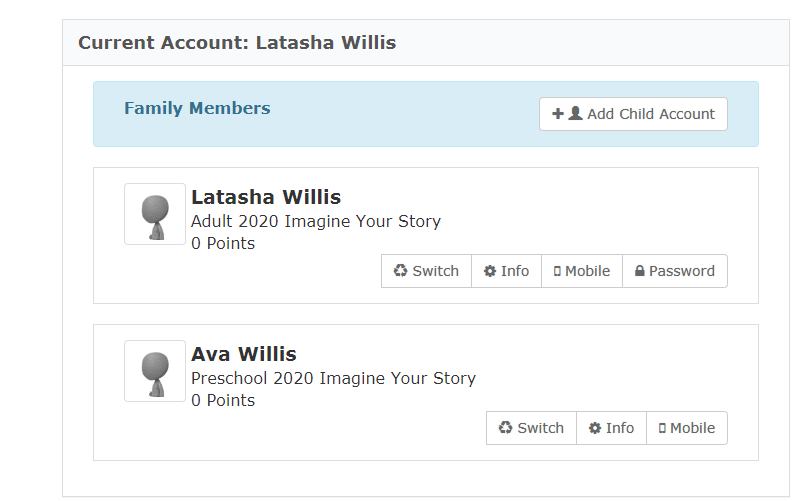
For participants with reading logs, their information must be manually entered into READsquared. They can be looked up by their first name, last name, username, email address or phone number.
Digital awards are issued as follows per category:
- 200 points – Level 1 Badge
- 400 points – Level 2 Badge
- 600 points – Level 3 Badge
- 800 points – Level 4 Badge
- 1000 points – Certificate
Here’s an example of a badge:
The certificate can be printed from READsquared once it is automatically generated as an image file.
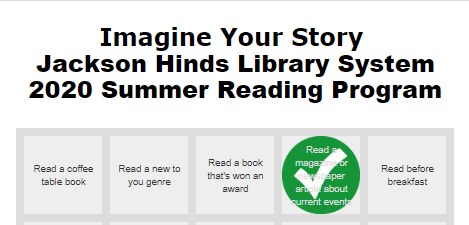
Games and Bingo
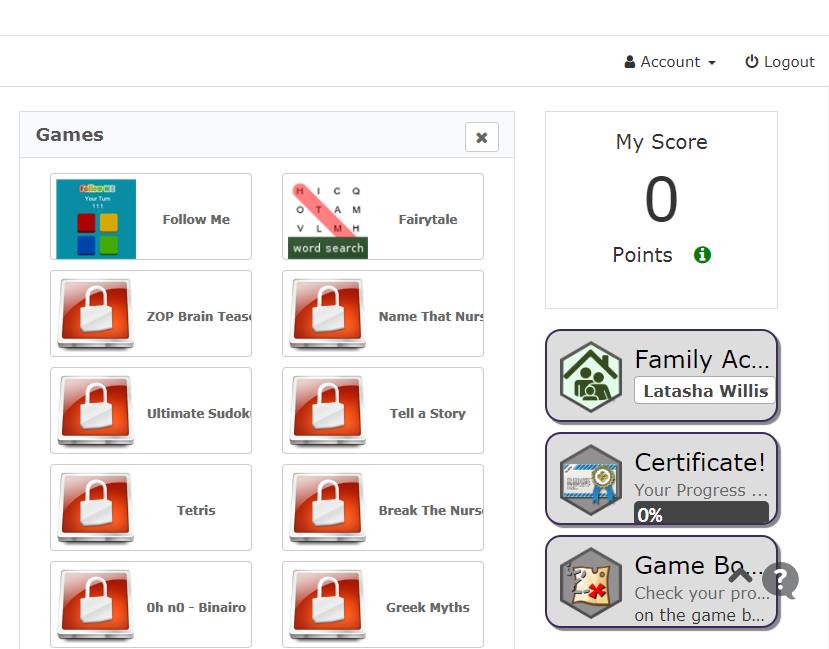
Games vary by age group and can be anything from puzzles, interactive challenges or special story times.
Upon registration, two games are unlocked. With every 100 points earned from logging books or completing missions, two more games are unlocked.
There are 10 levels of games to unlock with two games per level. Including the games given at registration, the patron can earn up to 22 games to play.

Points are not earned for playing games. They are rewards for logging books and completing missions.
The game board:
As games are unlocked due to earning points with reading logs or missions, your progress for unlocking games can be viewed on the game board. For every two additional games unlocked (100 points), you earn a piece on the game board.

From the home page, an interactive version of the game board can be viewed by clicking on Dashboard and then clicking on the map icon. Hover over a section to see what games you have earned and can play, and what games are left to earn.
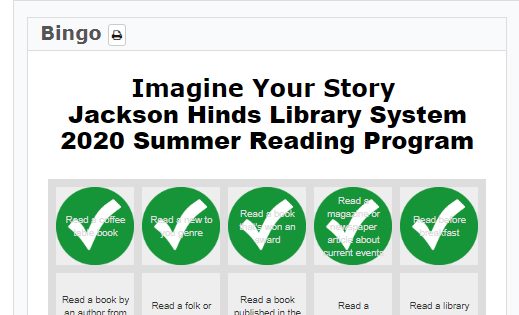
Playing bingo:
Each age category has a bingo board. Click on the Bingo button on the home page to access it. The bingo board is also printable, and you can click on the printer icon to print a hard copy.

To mark off an activity on the board as complete, click on an activity and respond to the question to check it off.
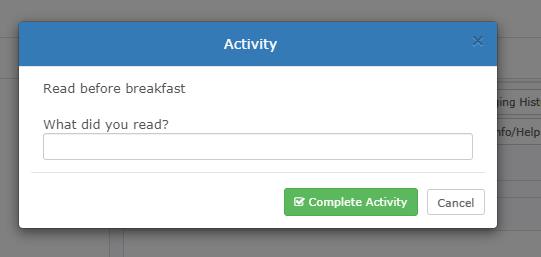
Earn points for each completed cell.
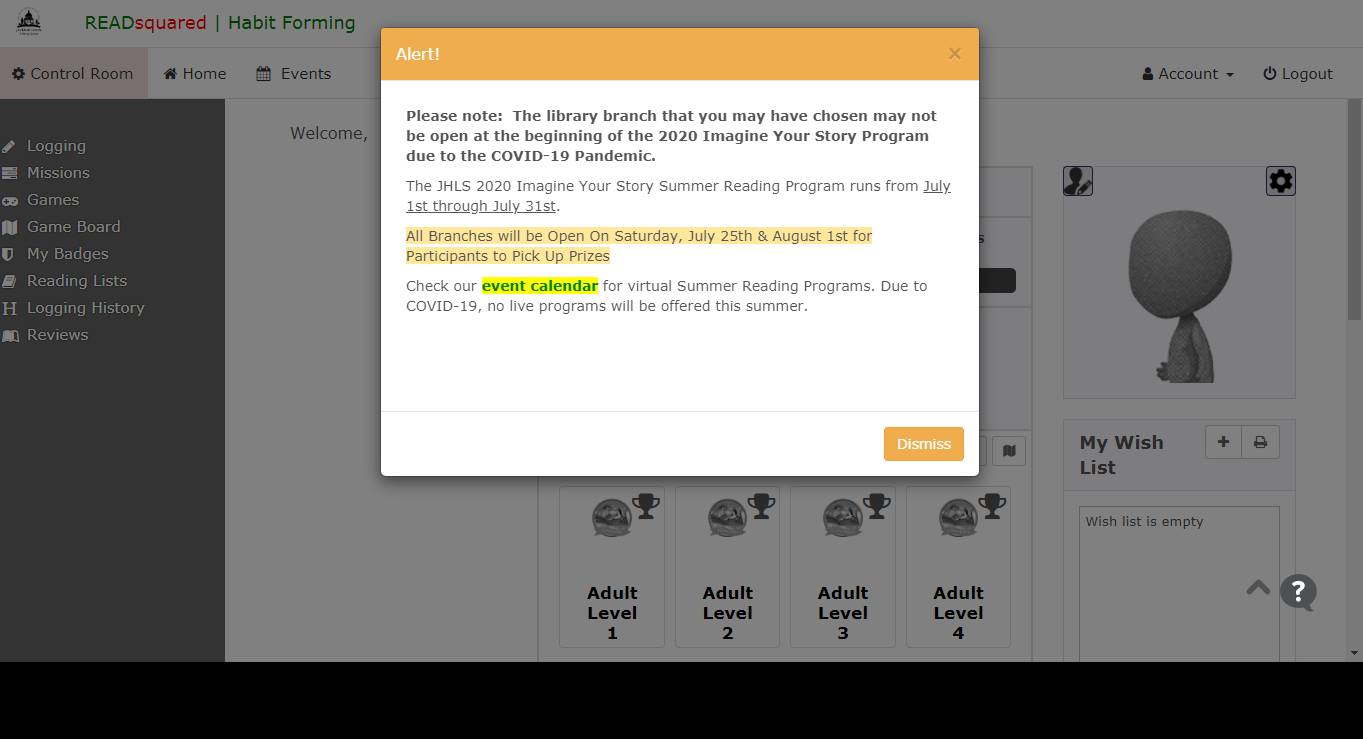
Events
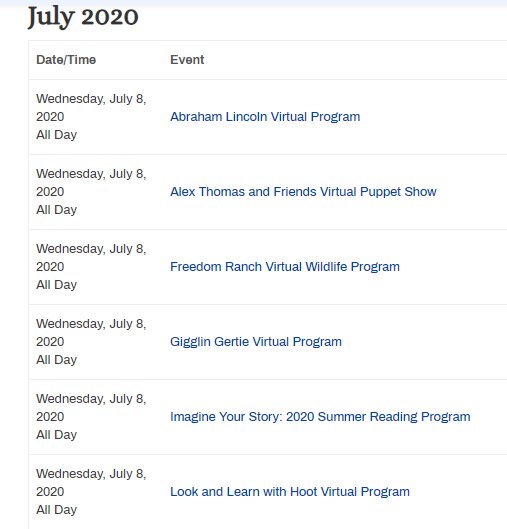
In READsquared, look for an Events icon that looks like a calendar. Click on it to see the main calendar.

By default, the month view is visible with four programs showing. You can change the view to see programs by week or day, and you can click on “+ more” to see more events for a particular day.

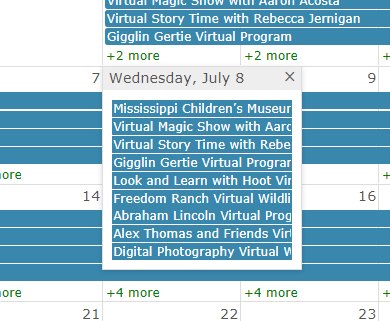
In future years when in-person programs are available, you can filter by library branch to see programs for that branch only by clicking on the dropdown box at the top.

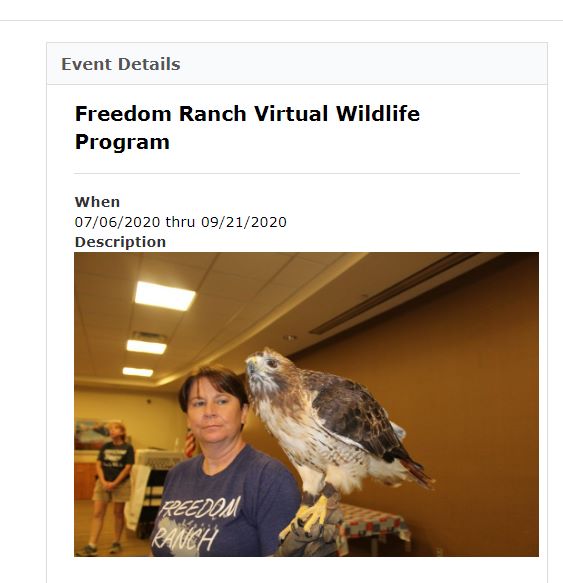
To view a program, start by clicking on its title.
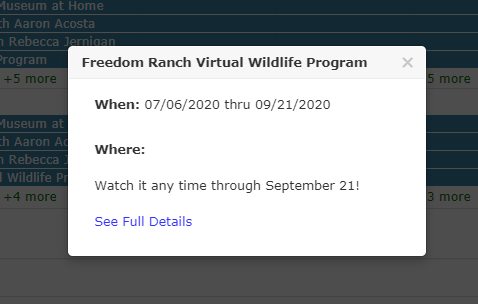
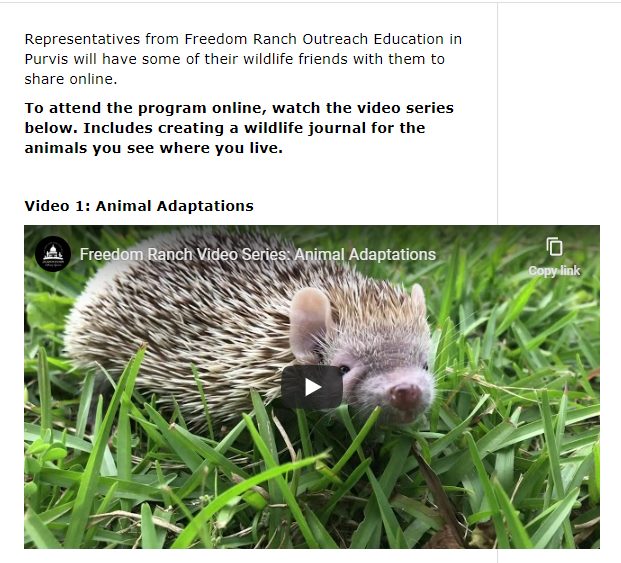
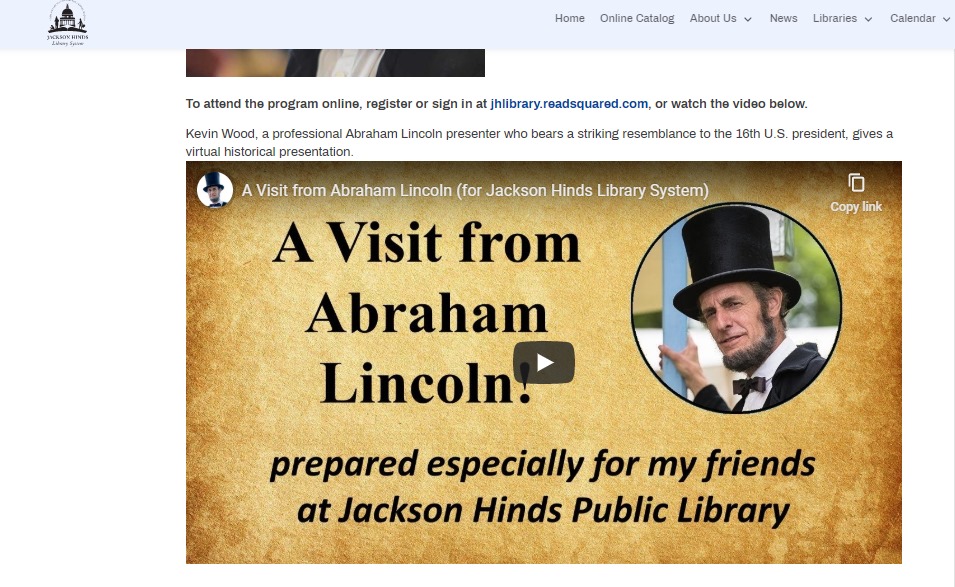
The Where field is blank for virtual programs. To see the video, click on See Full Details. You will get a program description and the embedded YouTube video to play.
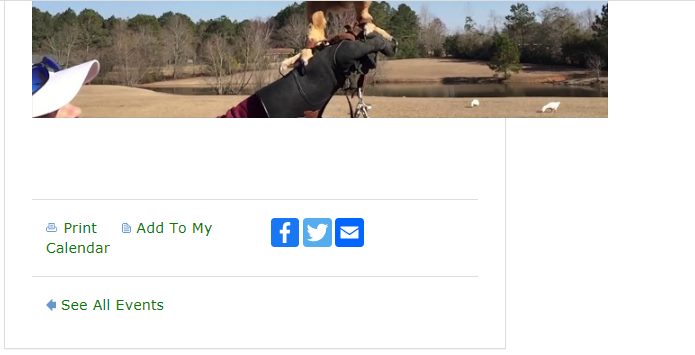
At the bottom, you may print event details, add it to a calendar such as iCal or Outlook, or share via Facebook, Twitter or email. You can also go back to the main calendar by clicking on See All Events.
For those who are not using READsquared, virtual programs are also available on our website’s event calendar. Shortcut: https://jhlibrary.org/2020srpevents. Click on an event title to see the embedded YouTube video.
Printing Certificates
Participants can choose to print their certificates from READsquared or save them as JPG files. If you want to print and are having trouble or don’t have a printer, you can ask a JHLS staff member to assist you with printing one after verifying that you earned a certificate in READsquared.
1. Printing a certificate from READsquared
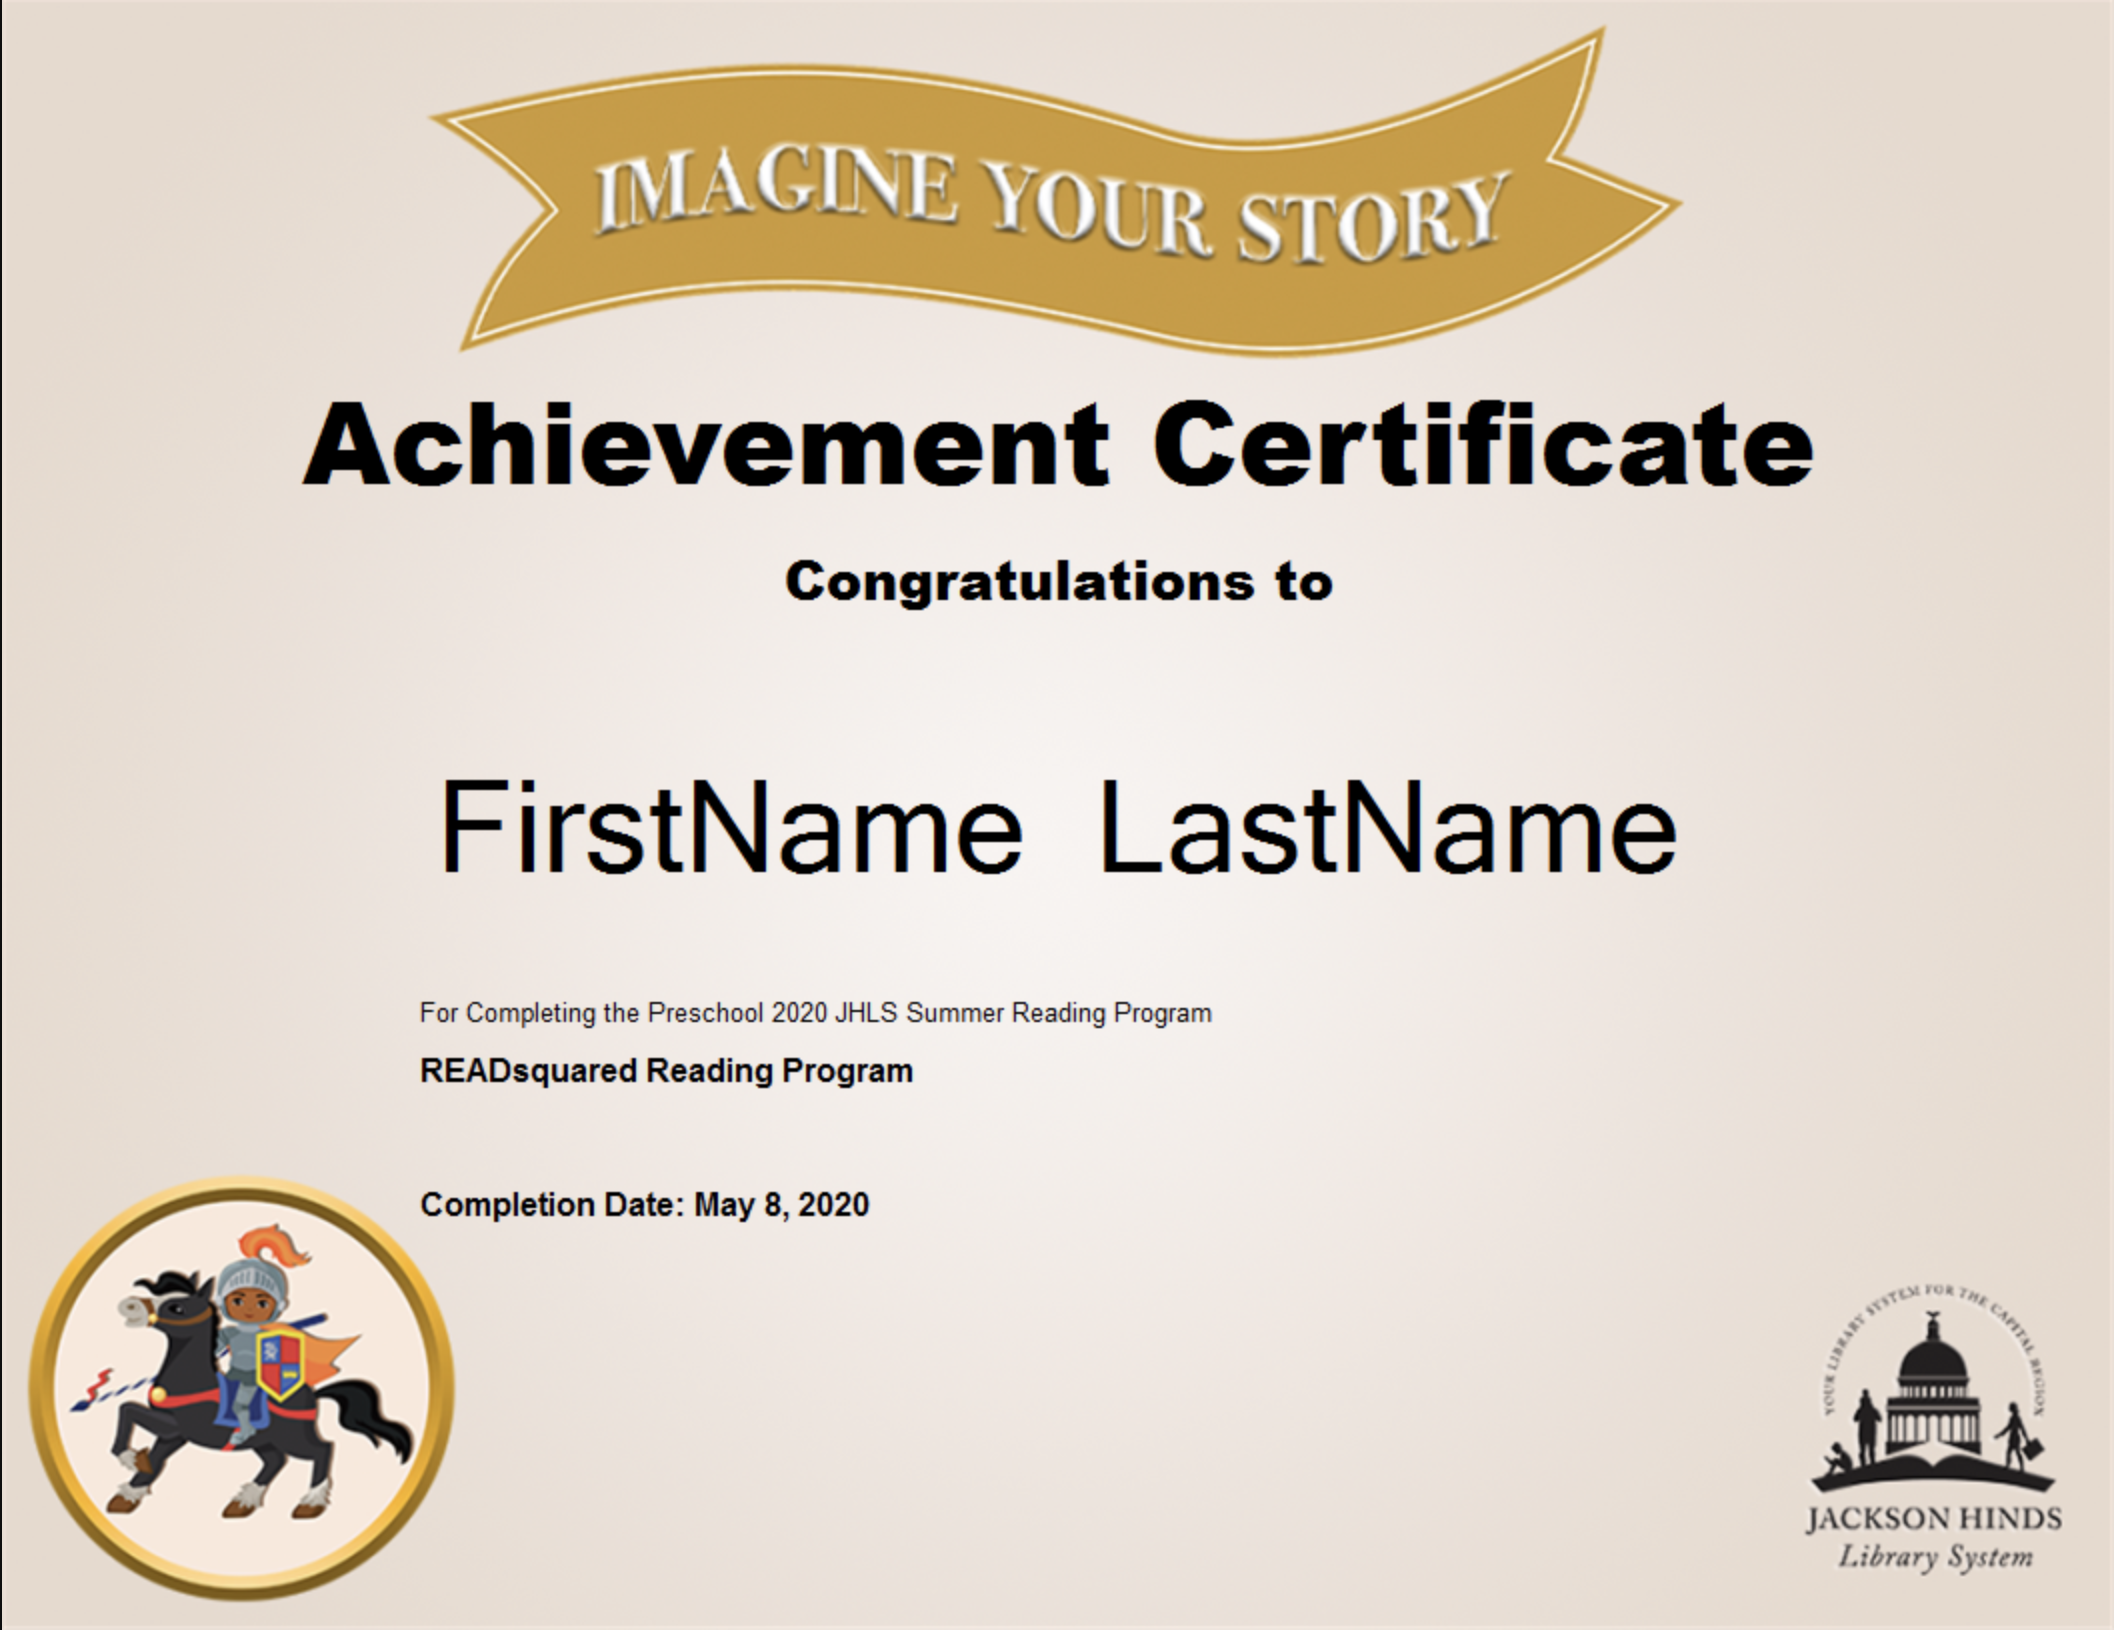
A participant who earns at least 1,000 points will receive a certificate badge, but they will also receive a printable certificate with their name on it and the completion date. It will be automatically generated in their profile and is a printable JPG.
From the home page in READsquared, click on the Certificate button.
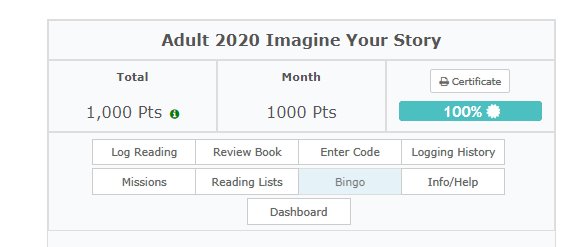
The certificate will then appear on the right side of the screen.
Next, click on the Print Certificate button.

This will open up the print dialog. Depending on your computer, the certificate may be slightly taller than one sheet of paper, so you can reduce the size for fitting onto one page.
2. Saving a certificate as a JPG
When you right click on the image and choose Save Image As…, the default file name is “download” without a file extension. Add JPG after it and then save.